Test sending emails in PHP with XAMPP and MailHog
Sending mail with PHP is easy. We can test it with a local SMTP server. MailHog is very useful for this purpose.
MailHog
MailHog is program thats creates a local SMTP mail sever for testing purposes. Let’s see how to configure MailHog.
Download MailHog
You can download MailHog from here . https://github.com/mailhog/MailHog/releases/latest . For 64 bit windows look for MailHog_windows_amd64.exe and for 32 bit MailHog_windows_386.exe
Configure MailHog
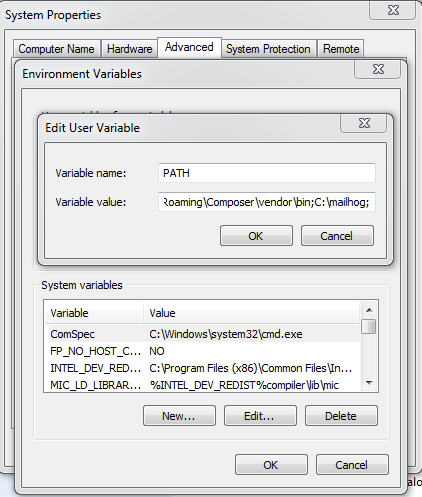
Rename the downloaded file to mailhog.exe and put it in C:\mailhog folder. So, the path for Mailhog executable will be C:\mailhog\mailhog.exe. Now add this to environment path variable.
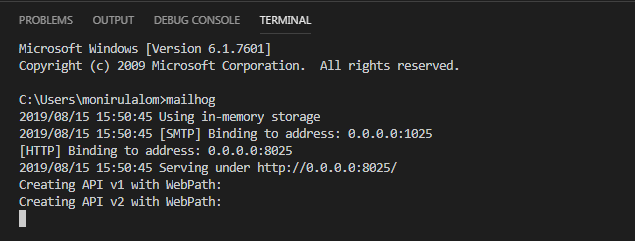
Now open command prompt and type mailhog to run the SMTP server.
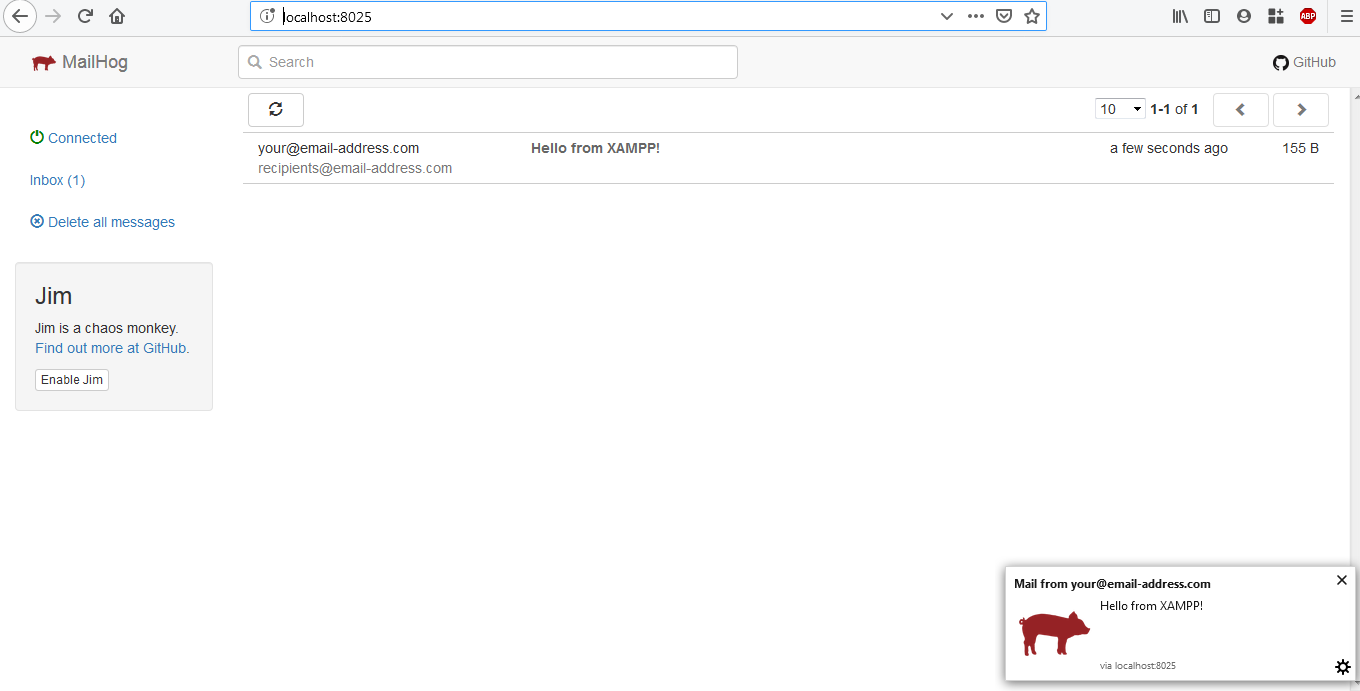
Open http://localhost:8025/ in your browser. You will see all the emails here you sent using PHP.
Update PHP configuration
Open php.ini and search for mail function. Set SMTP=127.0.0.1 and smtp_port=1025 in php.ini file.
[mail function] |
Update sendmail configuration
Open sendmail.ini from C:\xampp\sendmail\ directory and put smtp_server=127.0.0.1 and smtp_port=1025.
[sendmail] |
You can now use PHP’s mail() function to send email from your application.
Sending email
Now create a PHP file like the following
|
When you run the file you will receive an email in the MailHog inbox.
This will also be helpful for local WordPress installation for resetting passwords.